If you have not done our first PyQT tutorial yet, you should do it, it’s fun! In this tutorial we will use an user interface markup language, a language that describes the graphical user interfaces and controls . An excerpt of user interface markup language code could look like:
|
1
2
3
4
|
Rectangle {
id: simplebutton
color: "grey"
width: 150; height: 75
|
Essentially the language tells what the interface should look like. The language we will be using is called QML. Do not worry about it for now.
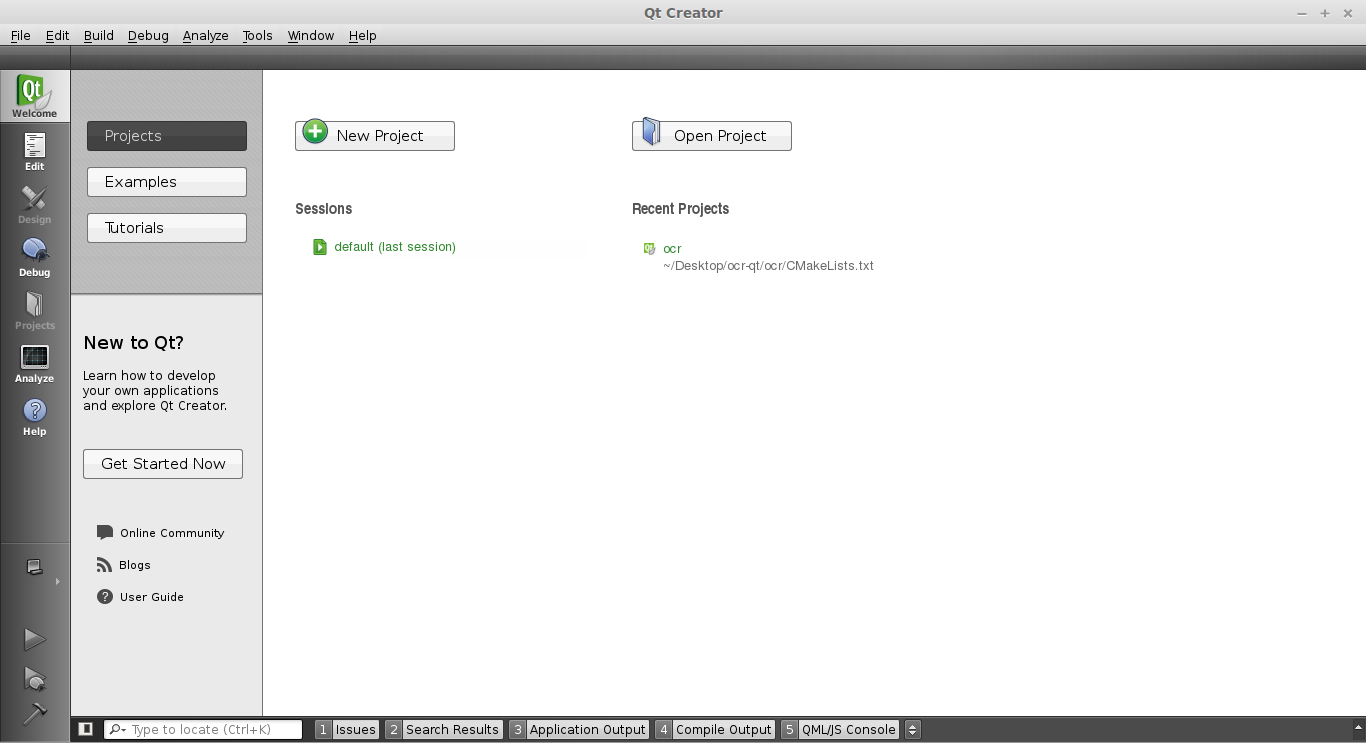
Start a programmed called QTCreator. The tutorial will be quite graphical to help you through the whole process. Simply type qtcreator in the terminal or start it from the menu list. This screen should pop up:
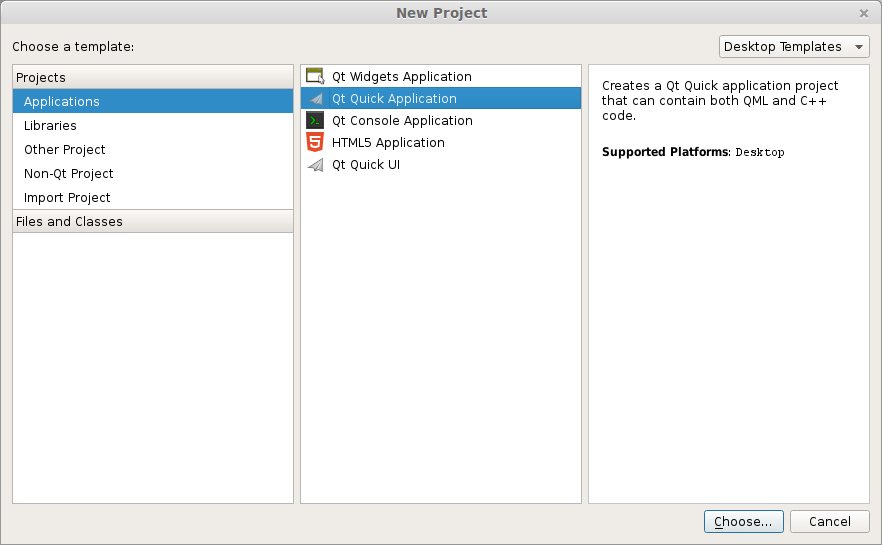
Press the big New Project button. Select QT Quick Application from the menu below. Finally press Choose on the bottom right.
A new popup will appear:
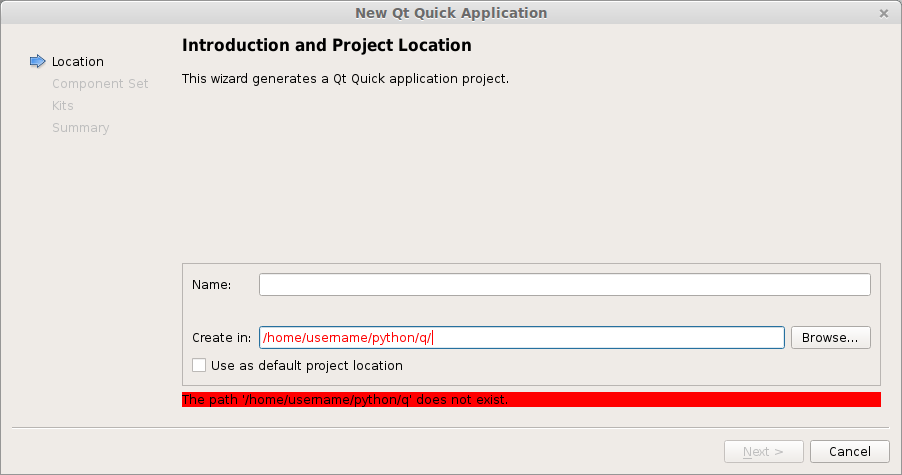
Type a name and a valid path to save your project. Then press Next. Select QT Quick 2.0 from the menu list. Press Next. Press Finish. Immediately a user interface defined in the QML language will appear.
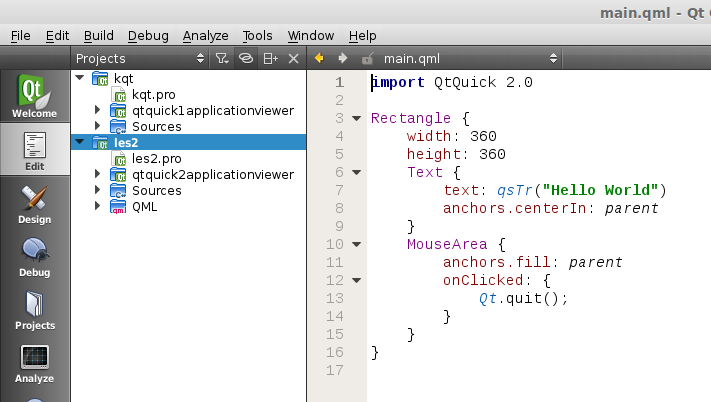
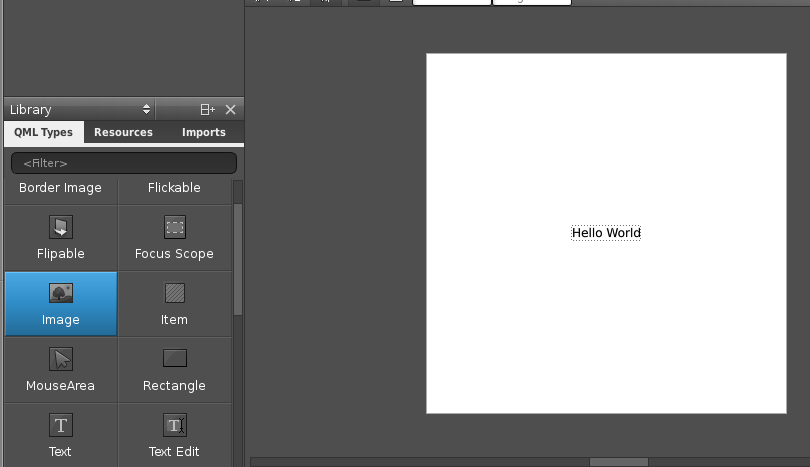
Like all great programmers we are going to solve things the most lazy way possible. Instead of typing all the QML code by hand we are going to press the Design button that is on the left of the screen. A drag and drop screen should appear now.
We drag an image onto the area and select the source on the right. Save the project. Open a terminal and locate the qml file you just created. Alternatively you could simply copy the code in the edit box and save it to a .qml file. Enter the command:
|
1
|
qmlviewer main.qml
|
This will display the windows as defined in the qml file without any functionality. It is simply a viewer for the interface. We then create some code to load this QML definition:
|
1
2
3
4
5
6
7
8
9
10
11
12
13
14
15
16
|
import sys
from PyQt4.QtCore import QDateTime, QObject, QUrl, pyqtSignal
from PyQt4.QtGui import QApplication
from PyQt4.QtDeclarative import QDeclarativeView
app = QApplication(sys.argv)
# Create the QML user interface.
view = QDeclarativeView()
view.setSource(QUrl('main.qml'))
view.setResizeMode(QDeclarativeView.SizeRootObjectToView)
view.setGeometry(100, 100, 400, 240)
view.show()
app.exec_()
|
Finally we modify the first line main.qml to:
|
1
|
import Qt 4.7
|
Simply because our QtQuick was missing. Running
|
1
|
python run.py
|
Will now display our user interface as defined by QML:
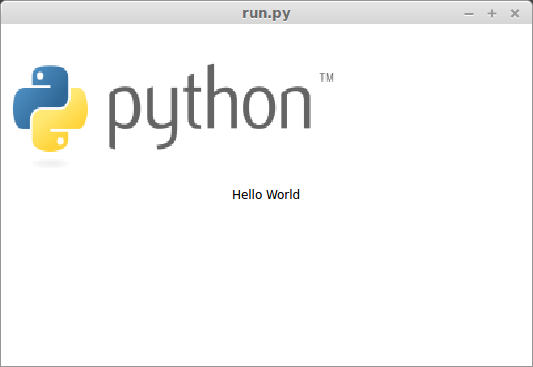
All of the code is simply PyQT, so you could add code like in the previous tutorial. These are the two methods to create a graphical interface with PyQT. This method may be more loosely coupled to the code compared to the method of creating a GUI with QT in the previous tutorial. Despite that both are valid methods.